
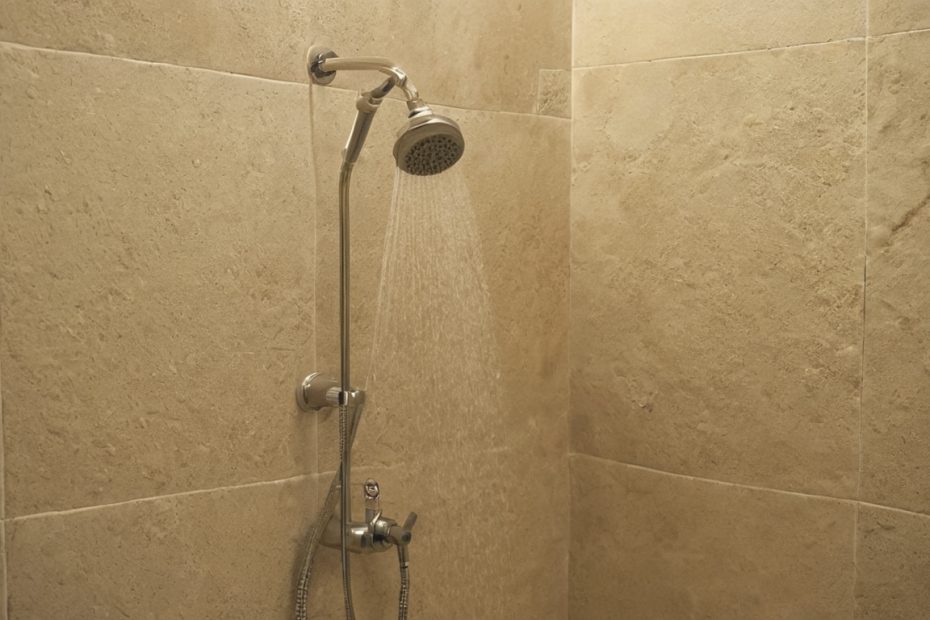
Misjudging the labor gap between a wall panel for shower installation and ceramic tile can drain $1,500 or more from a small bathroom allowance. In a standard 5×7 alcove with roughly 80 to 90 square feet of wet wall, prefabricated panels eliminate skilled masonry hours entirely. Premium solid-surface sheets cost more per square foot than basic subway tile, yet the total installed cost drops when you subtract thinset, grout, and multi-day setter rates. See also: bathroom remodel scope decisions.
Contents
- What is the installed cost difference between a shower wall panel and ceramic tile in a 5×7 bathroom?
- Which shower wall panel materials actually read as hotel-grade on a budget?
- How does waterproofing responsibility change when switching from tile to shower wall panels?
- What are the maintenance cycle differences between a wall panel for shower and ceramic tile?
- How should you sequence a bathroom remodel design when choosing panels over tile?
Key takeaways
- Acrylic and PVC panels typically range from $10 to $30 per square foot at retail distributor pricing.
- Solid-surface and high-density composite panels replicate the seamless, large-format look of boutique hotel showers far better than printed PVC or thin acrylic.
- Switching to a shower wall panel does not eliminate waterproofing.
- Ceramic tile requires periodic grout sealing and aggressive cleaning to prevent mold in porous joints, while a solid-surface shower wall panel needs only mild soap and water due to its non-porous face.
- When selecting a shower wall panel instead of tile, you must plan the bathroom remodel design around panel dimensions rather than cutting tiles to fit the space.
Compare four variables before committing to either surface. These decision points separate budget-friendly installations from unexpected overruns:
- Total wet-area square footage, including return walls and niche recesses
- Material unit cost versus combined setting-material expense
- Regional hourly trade rates for tile setters compared to general installers
- Preparation work required behind the finished surface
What is the installed cost difference between a shower wall panel and ceramic tile in a 5×7 bathroom?
Acrylic and PVC panels typically range from $10 to $30 per square foot at retail distributor pricing. Solid-surface options made from engineered stone or compressed composite run $40 to $100 per square foot depending on thickness and finish. Basic ceramic subway tile starts around $3 to $8 per square foot, but that price excludes thinset mortar, grout, and penetrating sealer.
Warranty terms reflect these material differences. Acrylic sheets often carry 10-year residential warranties against cracking and fading. Solid-surface manufacturers frequently back their products for 15 to 30 years because the color runs through the full thickness rather than sitting on a printed film. PVC panels occupy the lowest tier, offering shorter coverage periods and thinner gauge construction suited primarily to rental turnarounds.
Prefabricated panels cut this timeline to four to eight hours for a two-person crew using adhesive and mechanical fasteners. The savings grow when you factor in specialized tools like wet saws and margin trowels that tile setters include in their overhead. Those reclaimed labor dollars fund upgrades elsewhere in the room. ENERGY STAR states that qualified LED lighting uses at least 75 percent less energy and lasts up to 25 times longer than incandescent lighting, meaning redirected funds buy better vanity illumination that operates cheaper over time. These material choices also affect project scheduling, part of broader bathroom remodel scope decisions. Once the math favors panels, the next question is which materials actually read as hotel-grade on a budget.
Which shower wall panel materials actually read as hotel-grade on a budget?
Solid-surface and high-density composite panels replicate the seamless, large-format look of boutique hotel showers far better than printed PVC or thin acrylic. For a budget-conscious remodel, matte-finish solid-surface panels with minimal visible trim profiles come closest to luxury slab installations without requiring structural reinforcement or stone fabrication.
Boutique hotel wet areas rely on uninterrupted planes to signal quality. A standard alcove shower clad in 3-by-6-inch subway tile produces dozens of grout lines across a single wall. Solid-surface panels reduce that count to two or three joints for the entire enclosure. The U.S. Environmental Protection Agency identifies building materials and furnishings as common indoor sources of volatile organic compounds (EPA VOC guidance). Specifying low-VOC adhesives and running an exhaust fan during installation keeps the air safe in a small 5×7 bathroom.
Matte finishes hide water spots better than high-gloss acrylic sheets. High-gloss acrylic reflects overhead light unevenly, exposing every substrate imperfection behind the panel. Matte solid-surface diffuses light evenly, mimicking honed limestone or plaster. That softer look gives budget-friendly thermostatic controls for small bathroom designs their full architectural context. Pairing flat panels with concealed valves completes the hotel illusion without adding marble costs.
Trim profiles determine whether a wall panel for shower reads as custom millwork or temporary patching. Anodized aluminum reveals at inside corners create sharp shadow lines that mimic metal-edged stone slabs. Color-matched PVC caps blend into the field, reducing contrast but also hiding alignment errors. Integrated edge systems fold the panel material around the corner, eliminating applied trim altogether. FF&E specifiers prefer integrated edges for hospitality suites because cleaning staff cannot snag rags on protruding metal lips.
The Natural Stone Institute warns that scouring powders or creams can scratch natural stone surfaces because those products contain abrasives (Natural Stone Institute care guidelines). Solid-surface panels share this vulnerability. Scrubbing a matte composite wall with abrasive cleaners leaves permanent micro-scratches that dull the finish within months. Hotel housekeeping protocols mandate neutral pH liquid detergents and soft cloths for this reason. Applying that same rule at home preserves the panel surface indefinitely.
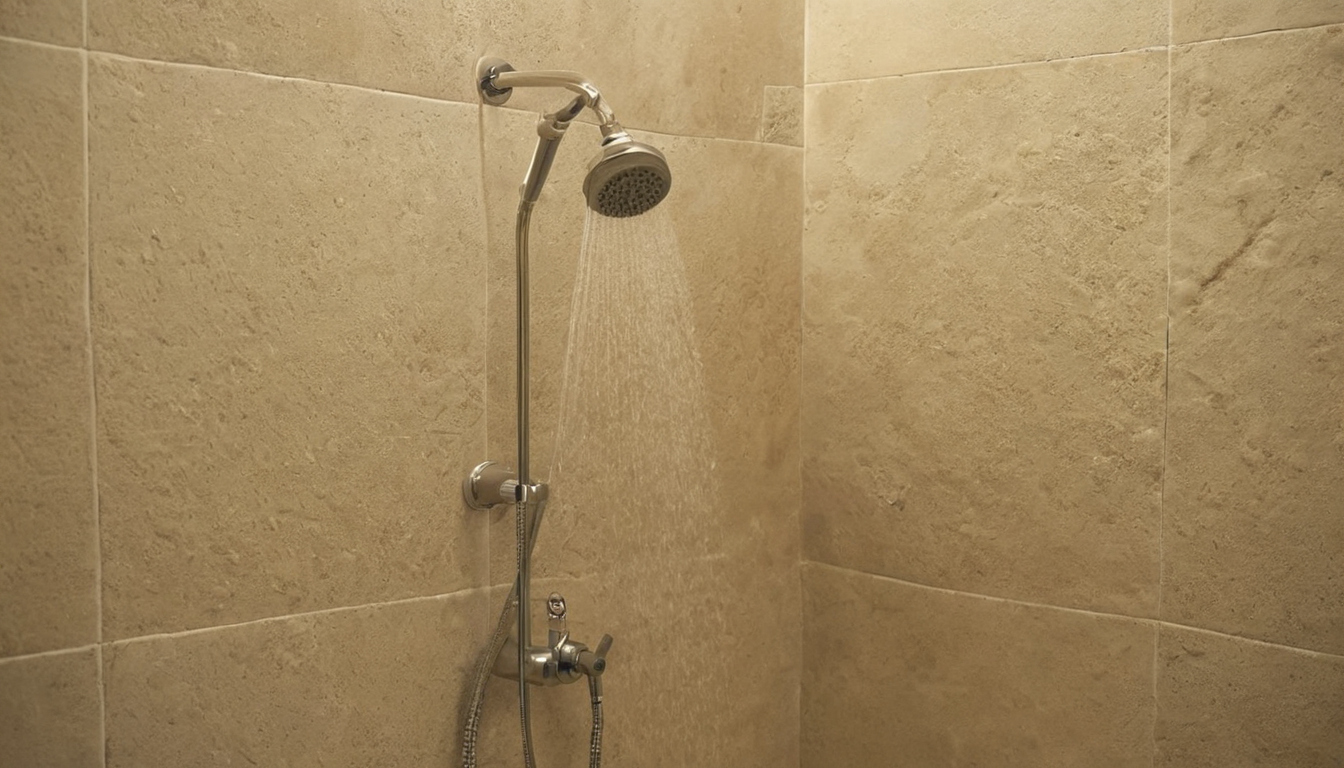
Which shower wall panel materials actually read as hotel-grade on a budget.
Over-tile installation requires a sound substrate beneath the existing glaze. Loose grout or cracked tiles will telegraph through flexible acrylic sheets within weeks of use. Clean the existing tile thoroughly with a degreaser, rinse it, and let it dry completely before applying any bonding agent. Double-sided foam tape rated for wet areas provides a mechanical hold while the adhesive cures. This two-step approach prevents the panel from sliding down the wall during the initial set.
Adhesive selection determines whether the modification remains truly reversible. Silicone-based sealants bond aggressively to glazed surfaces and often pull off the top layer of tile upon removal. Modified polymer adhesives marketed as peel-and-stick or removable offer lower ultimate shear strength but release cleanly with a heat gun and plastic scraper. Run the bathroom exhaust fan continuously during and after adhesive application. The U.S. Environmental Protection Agency recommends increasing ventilation when using products that emit volatile organic compounds indoors (EPA ventilation recommendation). Proper airflow accelerates curing and reduces chemical exposure in a confined space.
Panel thickness affects how much the shower footprint shrinks during an over-tile retrofit. Quarter-inch acrylic adds minimal depth to the enclosure, preserving clearance for shower doors or curtains. Thicker composite boards might interfere with existing valve escutcheons or drain assemblies. Measure the distance between the current tile face and the valve trim plate before purchasing material. Once you know how these surfaces affect plumbing clearances, the next question is how waterproofing responsibility changes when switching from tile to shower wall panels.
How does waterproofing responsibility change when switching from tile to shower wall panels?
Switching to a shower wall panel does not eliminate waterproofing. It shifts the failure point from grout joints to panel seams and perimeter seals. A properly installed panel system still requires a continuous waterproof membrane behind it, but large solid sheets reduce daily water intrusion risks because they present fewer penetration points than hundreds of grout lines.
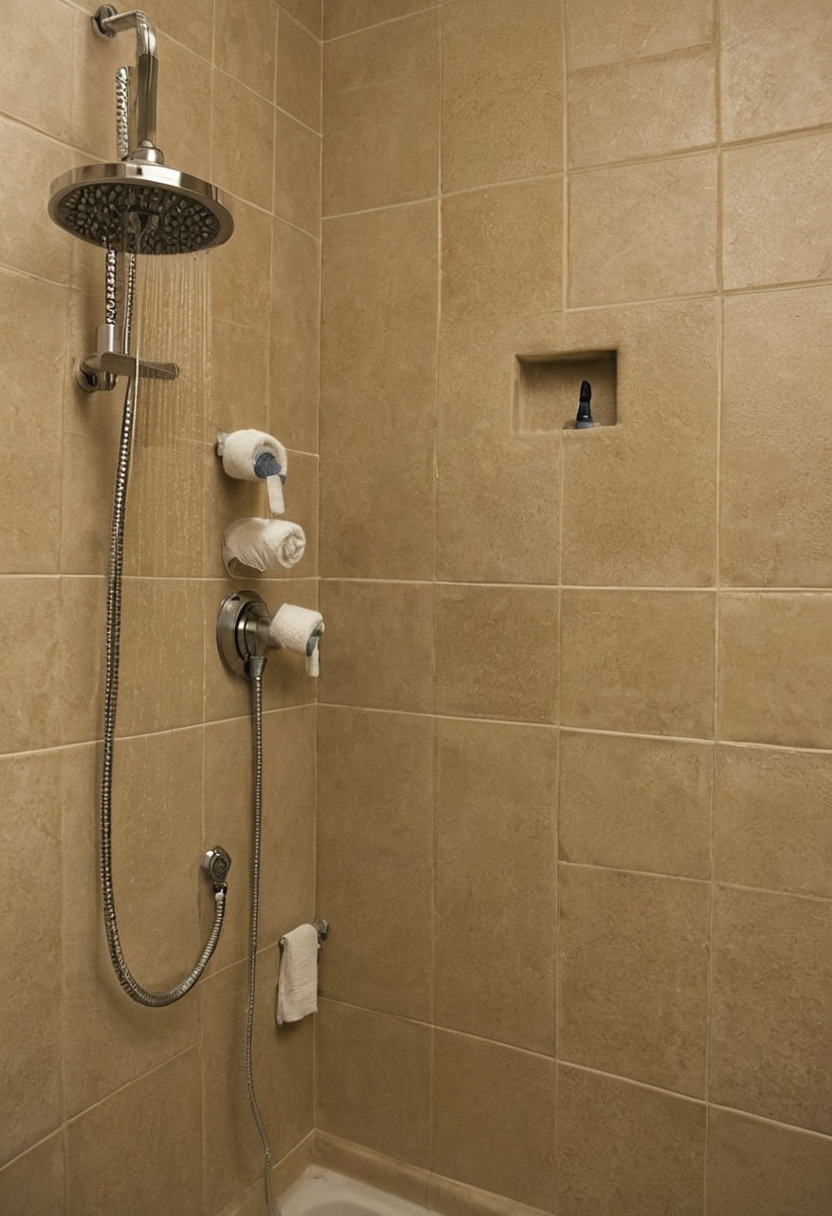
How does waterproofing responsibility change when switching from tile to shower wall panels.
Building codes treat the membrane as non-negotiable regardless of cladding. Residential plumbing standards require an approved lining or membrane behind any shower wall surface to prevent structural moisture damage. Removing ceramic tile does not remove this obligation. The wall panel for shower acts as the wear layer, while the membrane behind it remains the actual water barrier.
Check waterproofing risks before installation to prevent expensive rework in a small bathroom remodel design. Use this checklist to verify that your preparation covers every vulnerability specific to panel systems:
- Membrane continuity. Confirm the sheet membrane or liquid-applied coating runs unbroken from the shower pan flange up to at least six inches above the showerhead height.
Panel delamination usually starts at these overlooked transitions. Water bypasses the face sheet through an unsealed screw hole or a shrinking bead of caulk, then pools against the substrate. Solid-surface and acrylic panels resist surface absorption entirely, so any moisture damage originates strictly at the mechanical connections.
A sealed panel system drastically reduces how often water reaches the substrate compared to traditional tile. Yet even minimal moisture trapped behind a solid surface demands attention over years of daily use. How often you must inspect and reseal those perimeter joints determines whether a wall panel for shower stays cleaner longer than ceramic tile.
What are the maintenance cycle differences between a wall panel for shower and ceramic tile?
Ceramic tile requires periodic grout sealing and aggressive cleaning to prevent mold in porous joints, while a solid-surface shower wall panel needs only mild soap and water due to its non-porous face. Over a five-year period, the cumulative maintenance labor and chemical cost for tile exceeds that of panels, making panels the lower-friction choice for rental properties or busy households.
Grout lines in a standard 5×7 alcove shower introduce dozens of linear feet of porous material. Unsealed cementitious grout absorbs moisture from every shower cycle. The U.S. Environmental Protection Agency notes that mold grows on wet or damp porous materials such as unsealed grout within 24 to 48 hours if moisture is not controlled. That timeline forces owners into a strict drying and sealing routine just to keep the enclosure sanitary.
A solid-surface or acrylic wall panel for shower eliminates those joints entirely. Factory-finished sheets provide a continuous barrier where water beads and drains rather than soaking in. Boutique hotel housekeeping teams rely on this property. Fewer seams mean faster room turnover and less chemical exposure for staff.
Cleaning chemistry differs sharply between the two surfaces. The Natural Stone Institute recommends cleaning natural stone surfaces with neutral cleaners, stone soap, or mild liquid dishwashing detergent and warm water. Ceramic tile follows similar rules. Harsh acids etch glaze and degrade grout color over time. Acrylic and PVC panels share this sensitivity. Solvents like acetone or abrasive scouring pads will permanently dull an acrylic finish. Stick to non-abrasive liquid cleaners across all three panel types.
Surface hardness determines long-term wear resistance. Glazed ceramic tile carries high abrasion ratings, often surviving decades without visible scratching under normal residential use. Solid-surface panels resist daily wear but scratch more easily than fired clay. Acrylic and PVC panels sit at the softer end of the spectrum. Dropping a heavy razor handle or scrubbing with a stiff brush leaves marks on thermoplastic sheets that glazed tile would shrug off.
Expected service life reflects these material tradeoffs. A properly installed and maintained ceramic tile shower routinely lasts 30 years or more before requiring full replacement. Solid-surface panels typically carry manufacturer warranties spanning 10 to 15 years. Acrylic and PVC panels usually fall in the 10-year range. The shorter lifecycle does not erase the installation savings, especially in a first home or rental unit where a decade covers the relevant ownership horizon.
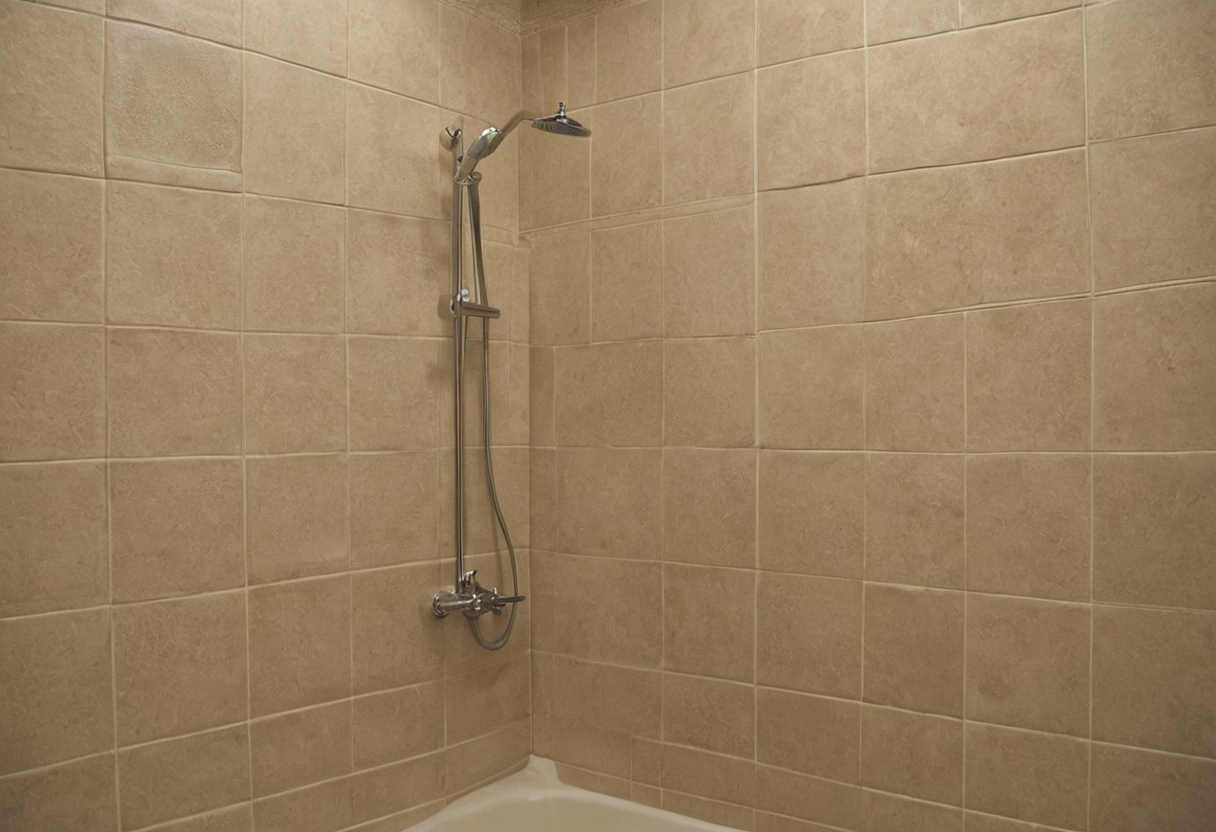
What are the maintenance cycle differences between a wall panel for shower and ceramic tile.
Maintenance needs shape the project timeline when you decide to swap tile for prefabricated sheets. Knowing how these surfaces age determines exactly when your contractor should schedule the plumbing rough-in and substrate prep. Planning that sequence prevents costly callbacks and keeps your small bathroom remodel design moving forward without delays.
How should you sequence a bathroom remodel design when choosing panels over tile?
When selecting a shower wall panel instead of tile, you must plan the bathroom remodel design around panel dimensions rather than cutting tiles to fit the space. Order panels early to confirm exact sizing, adjust rough plumbing valve locations to align with pre-drilled holes or flat zones, and coordinate the shower base flange before closing up surrounding walls.
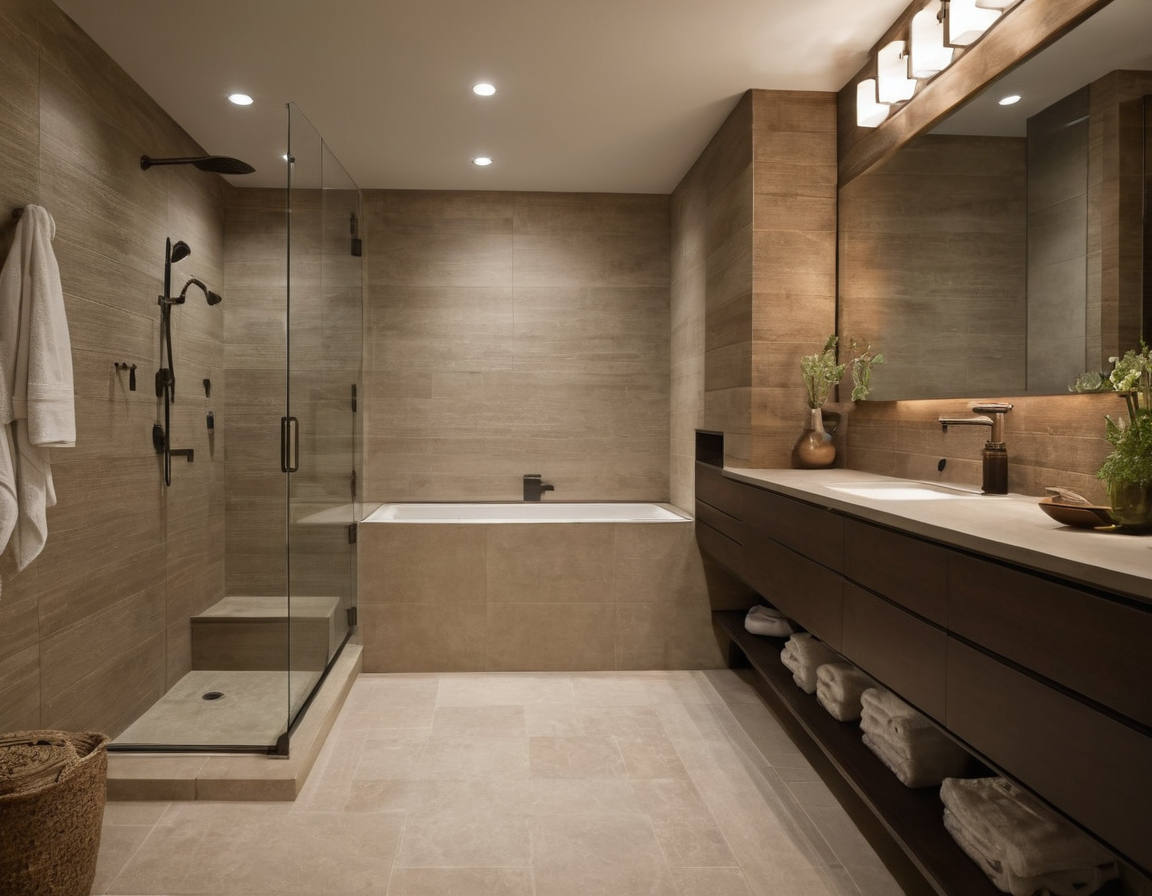
How should you sequence a bathroom remodel design when choosing panels over tile.
Ceramic subway tile sits on shelves at most building suppliers for immediate pickup. Solid-surface or composite shower panels often carry lead times of two to six weeks from the manufacturer. A 5×7 bathroom remodel stalls completely if the framing crew finishes before the specific wall panel for shower arrives on site.
Fixed-dimension panels demand tighter plumbing tolerances than adjustable tile layouts. A tile setter cuts field tile around a valve that lands slightly off-center. A prefabricated panel requires the mixing valve to sit within the manufacturer’s specified clearance zone so the escutcheon plate seals flush against the surface. Measure the panel template before the plumber sets the rough-in depth.
Shower niches add another sequencing constraint. Tile allows a niche anywhere the studs permit. Panels restrict niche placement to factory-molded recesses or require cutting into designated flat zones that maintain structural rigidity. Confirm niche location during the initial material order rather than during framing.
Fixture connections shape the entire schedule. Pairing large-format panels with thermostatic controls means verifying that the valve trim kit clears the panel thickness. Boutique hotels achieve seamless wet areas because the FF&E specifier locks panel dimensions, valve depths, and drain flanges together before demolition starts.
Treating these bathroom remodel scope decisions as a single coordinated package prevents expensive change orders. Stop planning the shower enclosure by picking a surface color first. Start by pulling the manufacturer installation sheet, marking the required plumbing clearances on your stud layout, and ordering the panels before any demolition begins.
For more on this topic, see other guides on this site.